2.9 KiB
Prerequisites:
- Windows 11 or any version of Windows that supports Linux GUI Apps. I don't know if Windows 10 does or not.
- Virtualization capabilities
- 8GB of RAM or more
Step 1 (Installing WSL2)
Install WSL2. If you have WSL2 already, you can skip this Open Powershell as an administrator and run this command
wsl --install
It will prompt a reboot, reboot and let it install Ubuntu. One that is done, make a username and password. It does not have to be the same as the system.
Step 2 (Getting the files)
Open a new Ubuntu terminal window, and run this command, replacing the WINDOWS_USER_NAME with the your Windows username, not the Linux one.
cd /mnt/c/users/WINDOWS_USER_NAME/Documents
Then run
sudo apt install git-all -y
Now clone the repository
git clone https://github.com/notAperson535/OneClick-macOS-Simple-KVM.git
Now cd into the newly created folder
cd OneClick-macOS-Simple-KVM
Step 3 (installing qemu and virtualization capabilities)
Run the included windows installer
./windows-install.sh
Once you get to the menu (looks like this)
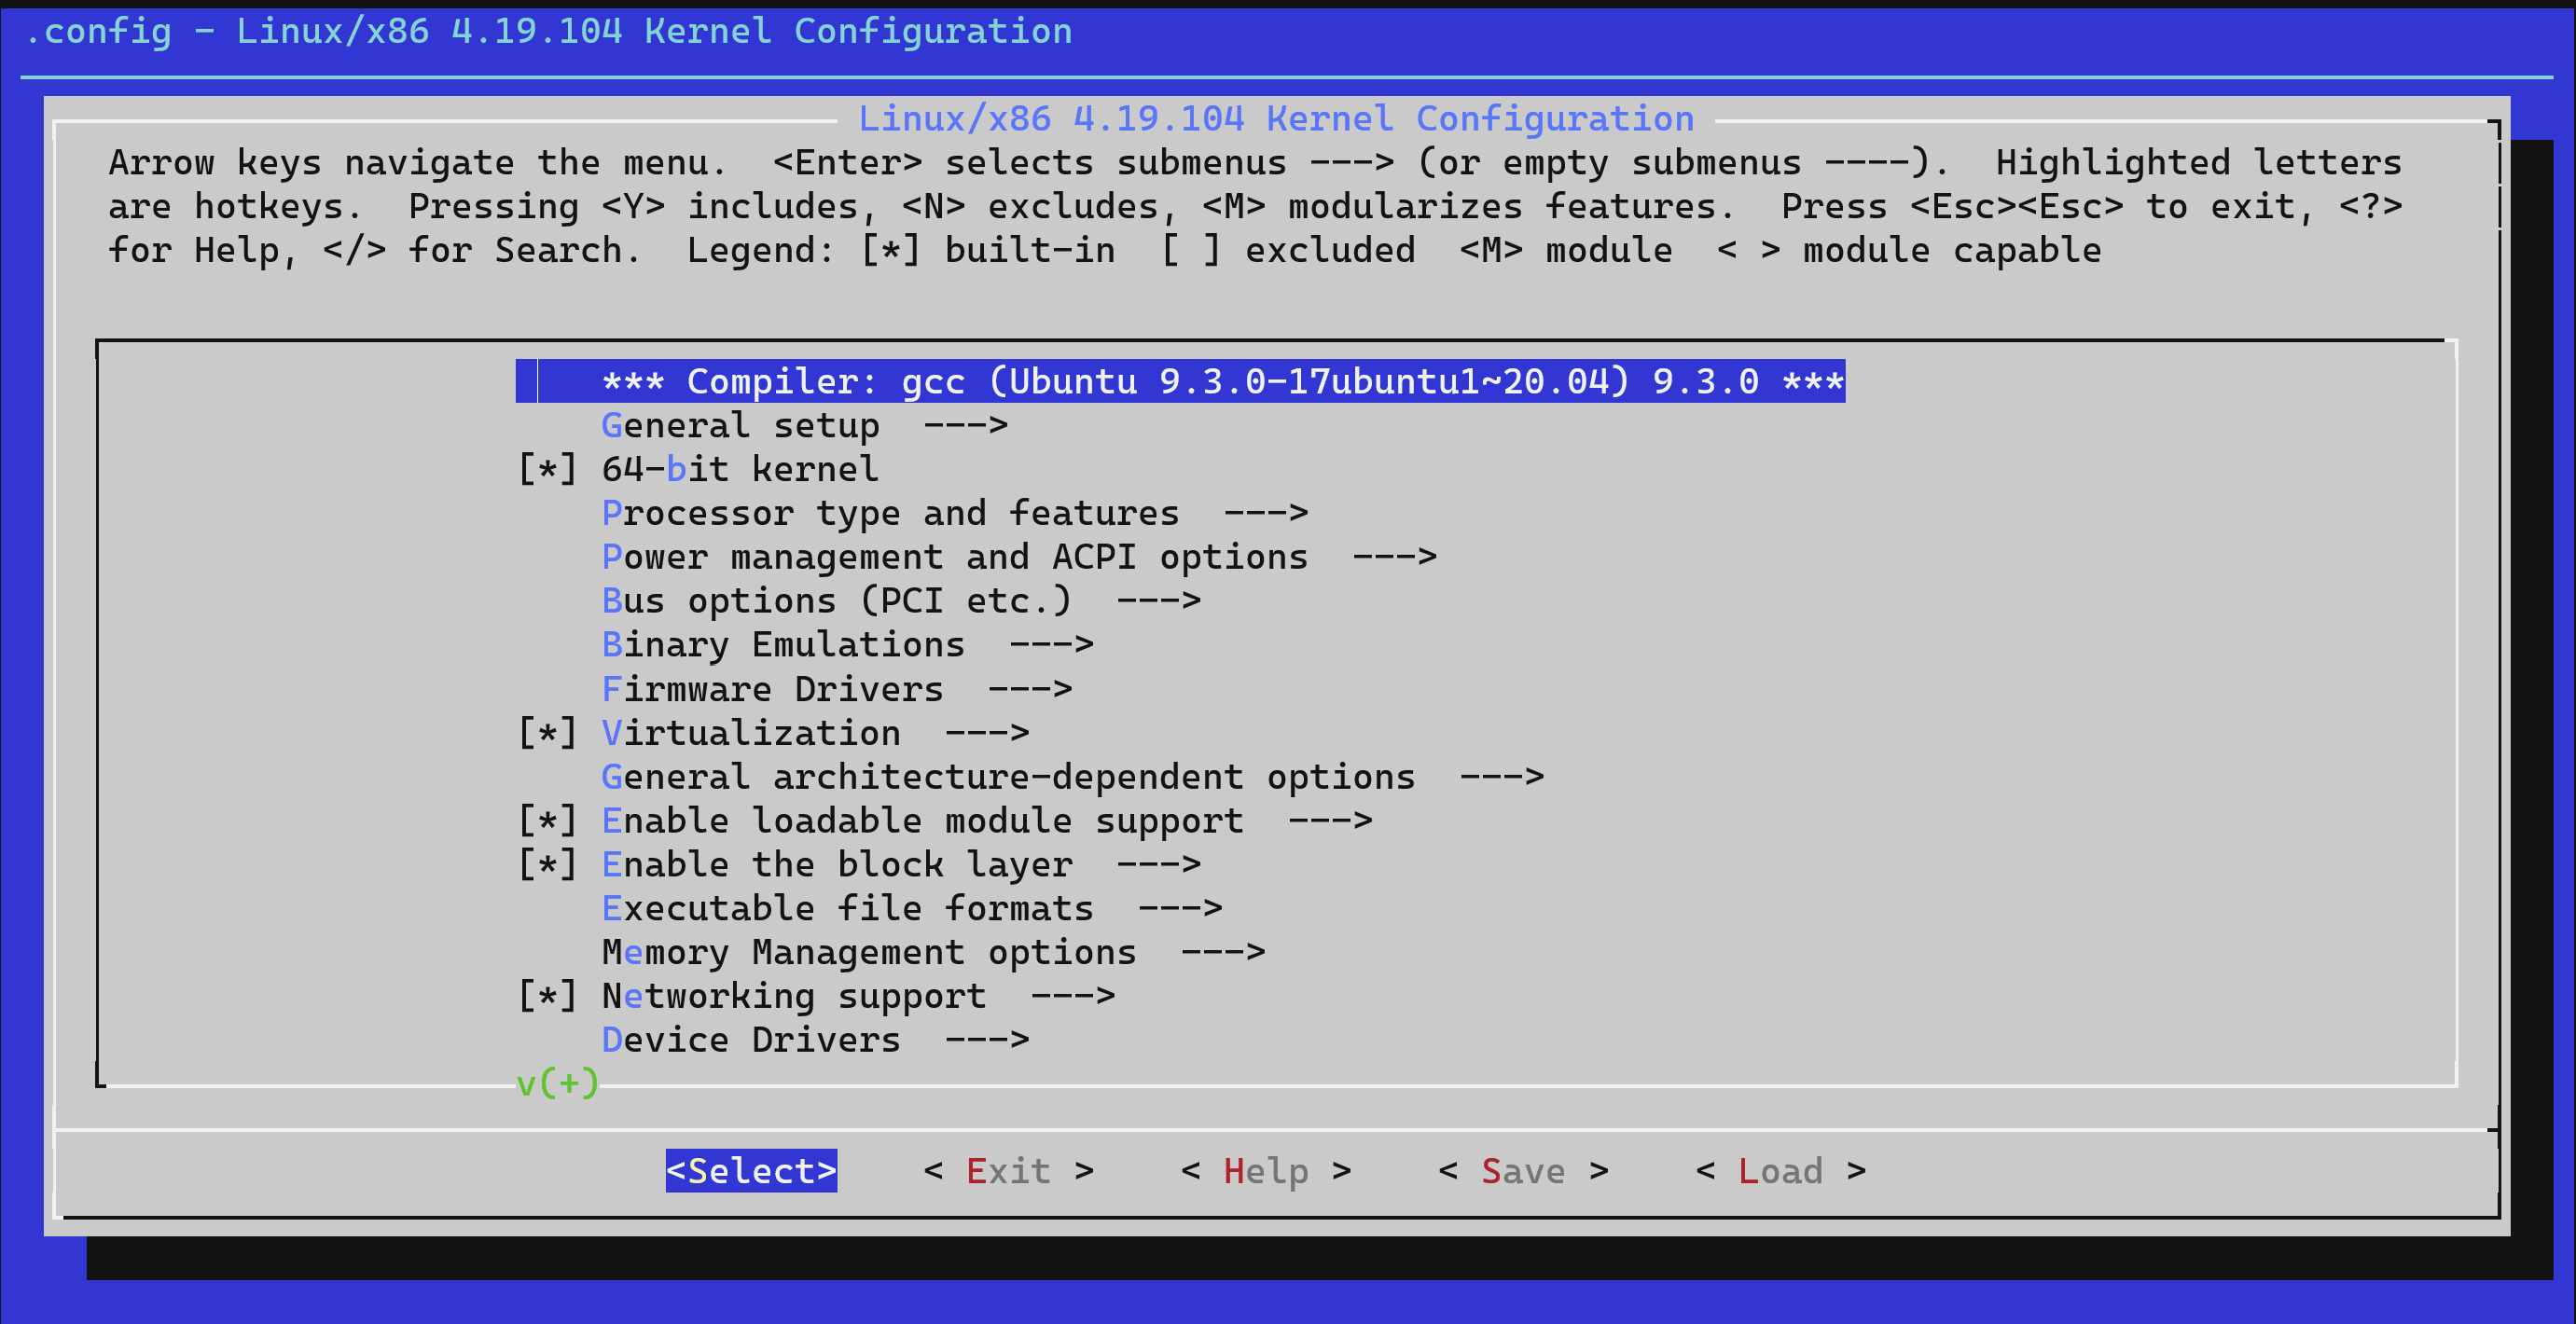 Go to Virtualization and make sure your system processor type is selected, mine is Intel
 Then keep clicking exit, and save the configuration
Once when you see the nano window pop up (it looks like a window with a lot of text), use the arrow keys to navigate to the bottom and paste this command
export DISPLAY=$(cat /etc/resolv.conf | grep nameserver | awk '{print $2; exit;}'):0.0
Now do ctrl+x, and hit enter twice
Now run these commands to make sure virtualization works
kvm-ok
cat /sys/module/kvm_intel/parameters/nested
If the first command returns KVM acceleration can be used and the second command returns Y, then you are good to go
Now cd into the OneClick-macOS-Simple-KVM directory, replacing the WINDOWS_USER_NAME with the your Windows username, not the Linux one.
cd /mnt/c/users/WINDOWS_USER_NAME/Documents/OneClick-macOS-Simple-KVM
And run ./setup.sh to finish the setup and run the macOS VM! When it finishes, it might say acces denied. If it does, run sudo ./basic.sh
You're done!
If the mouse is not aligned properly, edit the basic.sh file and change -usb -device usb-kbd -device usb-tablet \ to -usb -device usb-kbd -device usb-mouse \ or the other way around
To fine-tune the system and improve performance, look in the docs folder for more information on adding memory, setting up bridged networking, adding passthrough hardware (for GPUs), tweaking screen resolution, and enabling sound features.